

How to cut plywood for a bathroom vanity?
How to Cut Plywood for a Bathroom Vanity
As a seasoned supplier of Plywood Bathroom Vanities, I've witnessed firsthand the transformative power of a well - crafted vanity in a bathroom. The process of cutting plywood for a bathroom vanity is a crucial step that can make or break the final look and functionality of the piece. In this blog, I'll share my expertise on how to cut plywood effectively for a bathroom vanity, ensuring a professional and long - lasting result.
1. Understanding the Materials
Before you start cutting, it's essential to choose the right type of plywood. For a bathroom vanity, you'll want to select a plywood that is moisture - resistant. Marine plywood is an excellent choice as it is specifically designed to withstand high levels of humidity and moisture. It has a strong adhesive bond and tight grain structure, which helps prevent warping and delamination over time.

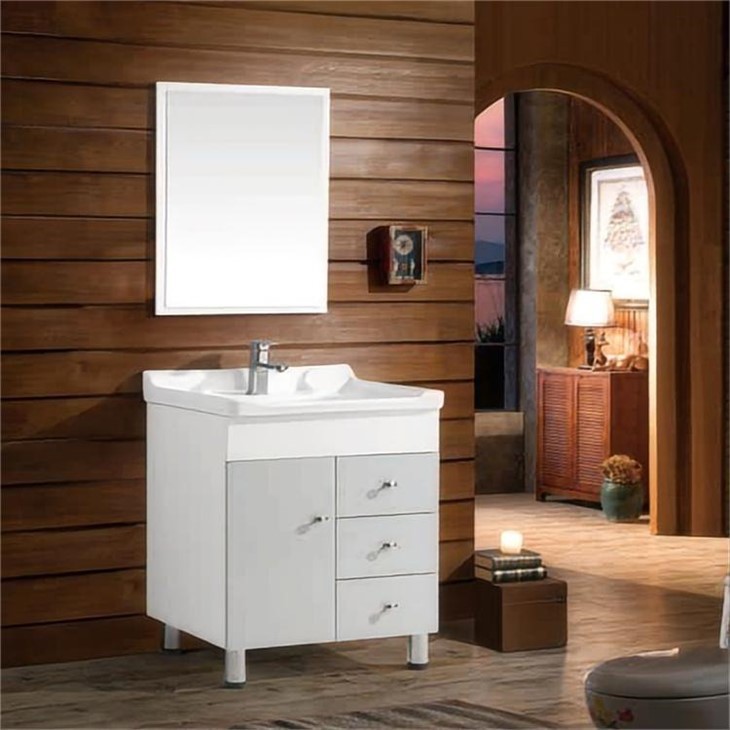
Another option is birch plywood, which is known for its smooth surface and high strength. It's also relatively easy to work with, making it a popular choice for DIY projects. When purchasing plywood, make sure to check for any visible defects such as knots, voids, or splinters, as these can affect the quality of your finished vanity.
2. Measuring and Planning
Accurate measurements are the key to a successful plywood cutting project. Start by taking precise measurements of the space where the vanity will be installed. Consider the width, depth, and height of the area, as well as any obstructions such as pipes or electrical outlets.
Once you have the measurements, create a detailed plan for your vanity. Sketch out the design on a piece of paper, including the dimensions of each component such as the cabinet sides, top, bottom, and shelves. Make sure to account for any additional features such as drawers or doors.
When planning your cuts, keep in mind the size of the plywood sheets you'll be using. Most plywood sheets come in standard sizes such as 4x8 feet. Try to arrange your cuts in a way that minimizes waste and maximizes the use of the material. You can use a plywood cutting calculator or graph paper to help you visualize the best layout.
3. Gathering the Tools
To cut plywood for a bathroom vanity, you'll need a few essential tools. Here's a list of the tools you'll typically need:
- Circular Saw: A circular saw is a versatile tool that can make straight cuts through plywood quickly and accurately. Make sure to choose a saw blade that is suitable for cutting plywood, such as a fine - tooth blade.
- Jigsaw: A jigsaw is useful for making curved or irregular cuts, such as cutting out the sink hole in the vanity top. It's also handy for cutting notches or slots in the plywood.
- Table Saw: If you have access to a table saw, it can be a great tool for making precise and repeatable cuts. It provides better control and accuracy compared to a circular saw, especially for long, straight cuts.
- Measuring Tape: A good quality measuring tape is essential for taking accurate measurements. Make sure to use a tape that is at least 25 feet long.
- Square: A square is used to ensure that your cuts are straight and at right angles. You can use a combination square or a framing square for this purpose.
- Clamps: Clamps are used to hold the plywood in place while you're cutting. This helps prevent the wood from moving or vibrating, which can result in inaccurate cuts.
- Safety Gear: Don't forget to wear safety gear such as safety glasses, ear protection, and a dust mask to protect yourself from flying debris and dust.
4. Making the Cuts
Once you have all the tools and materials ready, it's time to start cutting the plywood. Here are the steps to follow:
- Mark the Cuts: Use a pencil and a straightedge to mark the cutting lines on the plywood. Make sure to double - check your measurements and markings before making any cuts.
- Secure the Plywood: Use clamps to secure the plywood to a stable work surface. Make sure the plywood is flat and level to prevent any uneven cuts.
- Make the Straight Cuts: If you're using a circular saw, set the blade depth to slightly deeper than the thickness of the plywood. Start the saw and slowly guide it along the marked cutting line. Keep your hands away from the blade and use a push stick if necessary to feed the plywood through the saw.
- Make the Curved Cuts: If you need to make curved cuts, use a jigsaw. Start by drilling a small hole at the starting point of the cut. Then, insert the jigsaw blade into the hole and slowly guide the saw along the marked curve.
- Cut the Sink Hole: If you're installing a sink in the vanity top, you'll need to cut out the sink hole. Place the sink template on the plywood and trace around it with a pencil. Then, use a jigsaw to cut out the hole. Make sure to leave a small margin around the template to allow for any adjustments.
5. Finishing the Edges
After cutting the plywood, you'll need to finish the edges to give the vanity a professional look. You can use a variety of edge - finishing materials such as veneer tape, edge banding, or solid wood trim.
- Veneer Tape: Veneer tape is a thin strip of wood veneer with an adhesive backing. It's easy to apply and can be used to cover the raw edges of the plywood. Simply cut the veneer tape to the appropriate length, peel off the backing, and press it onto the edge of the plywood.
- Edge Banding: Edge banding is a wider strip of wood or plastic that is used to cover the edges of the plywood. It provides a more durable and finished look compared to veneer tape. You can use a heat - activated edge banding and a hot - air gun to apply it to the plywood edges.
- Solid Wood Trim: Solid wood trim is a classic choice for finishing the edges of a bathroom vanity. It can be stained or painted to match the rest of the vanity. Cut the trim to the appropriate length and use wood glue and nails or screws to attach it to the plywood edges.
6. Assembly and Installation
Once you've finished cutting and finishing the plywood, it's time to assemble the vanity. You can use wood glue, nails, or screws to join the components together. Make sure to follow your design plan and use clamps to hold the pieces in place while the glue dries.
After assembling the vanity, you can install it in the bathroom. Make sure to level the vanity and secure it to the wall using brackets or screws. Then, install the sink, faucets, and any other fixtures.
7. Consider Different Vanity Styles
When you're in the process of creating your plywood bathroom vanity, you might want to explore different styles to match your bathroom's aesthetic. For instance, if you're going for a luxurious look, you can consider a Marble Top Vanity Basin. The marble top adds an elegant touch and can elevate the overall look of your bathroom.
If you prefer a more modern and sleek design, a Black Marble Sink Top can be a great choice. The black marble creates a bold and sophisticated statement.
For a unique and contemporary style, you can look into Basin Furniture with Glass Vanity. The combination of glass and plywood gives the vanity a light and airy feel.
8. Contact for Purchase and Collaboration
If you're interested in our Plywood Bathroom Vanities or need more information about the cutting process and our products, we're here to assist you. We offer a wide range of high - quality plywood vanities in various styles and sizes to meet your specific needs. Whether you're a contractor, a designer, or a homeowner, we can provide you with the best solutions for your bathroom renovation project. Don't hesitate to reach out to us for more details and to start a procurement negotiation.
References
- Woodworking for Beginners: A Comprehensive Guide to Woodworking Techniques, by John Smith
- Bathroom Remodeling Handbook, by Jane Doe
- Plywood: Properties, Applications, and Cutting Techniques, by Mark Johnson