How to install a makeup organizer on a PVC double sink vanity?
A well - organized makeup area can transform your daily beauty routine from a chaotic scramble to a seamless, enjoyable experience. If you're a proud owner of a PVC double sink vanity, installing a makeup organizer on it can be a game - changer. As a PVC Double Sink Vanity supplier, I've seen firsthand how a properly installed makeup organizer can enhance the functionality and aesthetics of your bathroom. In this blog, I'll guide you through the step - by - step process of installing a makeup organizer on your PVC double sink vanity.
Step 1: Choose the Right Makeup Organizer
The first and most crucial step is to select a makeup organizer that suits your needs and the dimensions of your PVC double sink vanity. Consider the number of products you have, the types of makeup (e.g., lipsticks, eyeshadows, foundations), and your personal storage preferences.
There are various types of makeup organizers available in the market, such as drawer organizers, countertop organizers, and wall - mounted organizers. Drawer organizers are great for keeping smaller items like lip glosses and eyeliner pencils neatly arranged inside the vanity drawers. Countertop organizers can hold larger items like powder compacts and makeup brushes, providing easy access to your most frequently used products. Wall - mounted organizers are a space - saving option, especially if you have limited countertop space.
When choosing an organizer, make sure to measure the available space on your vanity accurately. You don't want to end up with an organizer that is too large or too small for the area. Also, consider the material of the organizer. Plastic organizers are lightweight and affordable, while wooden organizers can add a touch of elegance to your bathroom.
Step 2: Prepare Your PVC Double Sink Vanity
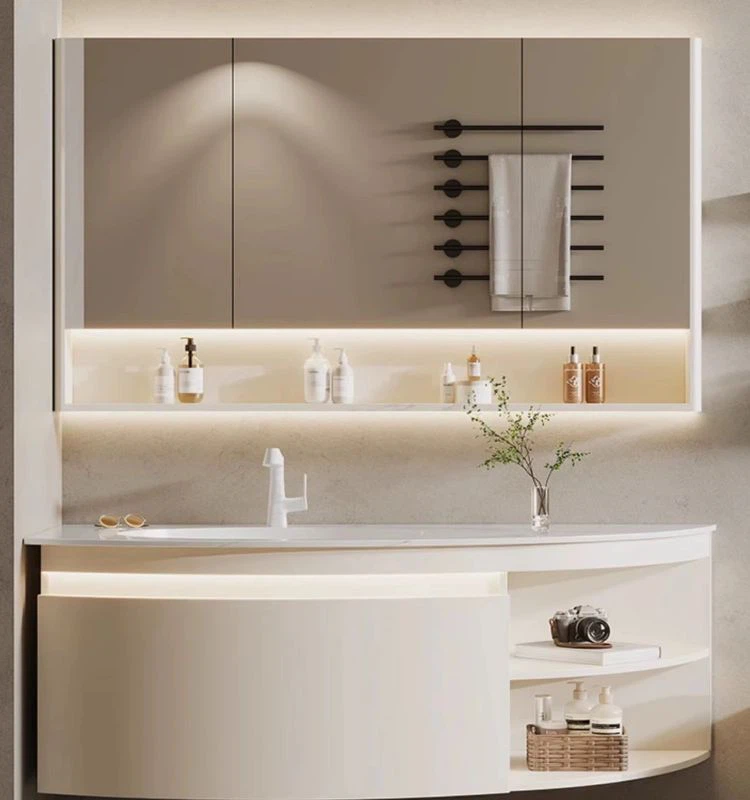
Before you start the installation process, it's important to prepare your vanity. First, clean the surface where you plan to install the organizer. Use a mild cleaner and a soft cloth to remove any dirt, dust, or soap residue. This will ensure that the organizer adheres properly and looks clean once installed.
If you're using a wall - mounted organizer, mark the spots where you'll be drilling holes. Use a level to make sure the marks are straight and evenly spaced. If you're installing a countertop organizer, clear the area of any items and ensure that the surface is flat and stable.
Step 3: Install a Drawer Organizer
If you've chosen a drawer organizer, the installation process is relatively straightforward. Most drawer organizers come with pre - cut compartments that can be easily adjusted to fit your needs.
Start by removing the vanity drawer. Place the organizer inside the drawer and arrange the compartments according to your storage requirements. You can adjust the size of the compartments by sliding the dividers or removing them altogether. Once you're satisfied with the arrangement, secure the dividers in place.
If the organizer has any additional features like trays or holders, attach them according to the manufacturer's instructions. Then, carefully slide the drawer back into the vanity, making sure it glides smoothly.
Step 4: Install a Countertop Organizer
Installing a countertop organizer is also a simple process. First, position the organizer on the vanity countertop where you want it to be. Make sure it's centered and doesn't block the sink or any other important areas.
Some countertop organizers come with adhesive pads on the bottom. If yours does, simply remove the protective backing from the pads and press the organizer firmly onto the countertop. Hold it in place for a few seconds to ensure a good bond.

If your organizer doesn't have adhesive pads, you can use a non - damaging adhesive or double - sided tape to secure it. Apply the adhesive or tape to the bottom of the organizer and press it onto the countertop. Again, hold it firmly for a few seconds.
Step 5: Install a Wall - Mounted Organizer
Installing a wall - mounted organizer requires a bit more work, but it's still manageable. Start by gathering the necessary tools, including a drill, screws, wall anchors, and a screwdriver.
First, hold the organizer against the wall where you want it to be installed. Use a pencil to mark the holes on the wall through the mounting holes on the organizer. Then, drill pilot holes into the wall at the marked spots. Insert the wall anchors into the pilot holes.
Next, align the mounting holes on the organizer with the wall anchors. Insert the screws through the holes in the organizer and into the wall anchors. Use a screwdriver to tighten the screws until the organizer is securely attached to the wall. Make sure the organizer is level before fully tightening the screws.
Step 6: Arrange Your Makeup
Once the organizer is installed, it's time to arrange your makeup. Start by sorting your products into categories, such as skincare, makeup, and brushes. Place similar items together in the appropriate compartments or sections of the organizer.
For example, you can group all your lipsticks in one section, your eyeshadows in another, and your makeup brushes in a separate holder. This will make it easier for you to find what you're looking for and keep your makeup collection organized.
You can also use small containers or trays to hold smaller items like cotton balls and Q - tips. Label the compartments if you want to make it even easier to identify the contents.
Additional Tips
- Consider the lighting in your bathroom. Make sure your makeup organizer is placed in an area with good lighting so that you can see your products clearly.
- If you have a lot of makeup, you may want to rotate your products periodically. This will prevent products from expiring and keep your collection fresh.
- You can add some decorative elements to your makeup organizer, such as a small vase with flowers or a scented candle, to make your beauty area more inviting.
As a PVC Double Sink Vanity supplier, I understand the importance of creating a functional and beautiful bathroom space. In addition to PVC double sink vanities, we also offer a wide range of bathroom furniture products, such as PVC Wall Cabinet, American Style four legs Bathroom Vanity, and European Bathroom Furniture.
If you're interested in purchasing any of our products or have any questions about bathroom furniture installation, feel free to contact us for a procurement negotiation. We're always happy to assist you in creating the perfect bathroom for your home.
References
- "Bathroom Organization Ideas" - Popular Mechanics
- "The Ultimate Guide to Makeup Storage" - Allure Magazine
- "How to Install Wall - Mounted Shelves" - This Old House