What is the best way to sand a wood bathroom vanity for refinishing?
Sanding a wood bathroom vanity is a crucial step when refinishing it. As a supplier of wood bathroom vanities, I've witnessed firsthand the transformation that proper sanding can bring to these pieces. In this blog, I'll share the best way to sand a wood bathroom vanity for refinishing, ensuring you achieve a professional and long - lasting result.
Preparing for Sanding
Before you start sanding, it's essential to gather all the necessary tools and materials. You'll need sandpaper in various grits, a sanding block or an electric sander, a dust mask, safety goggles, a drop cloth, and a tack cloth. The sandpaper grits you'll use typically range from coarse (around 80 - 100 grit) for the initial rough sanding to fine (220 - 320 grit) for the final smoothing.
First, remove the vanity from the bathroom if possible. This will prevent dust from spreading throughout the bathroom and make the sanding process more convenient. Place the vanity on a sturdy workbench covered with a drop cloth to catch the dust. Remove all hardware, such as handles and hinges, and label them so you can easily reinstall them later.
Initial Sanding with Coarse Grit
The first step in sanding is to use a coarse - grit sandpaper to remove the existing finish and smooth out any rough areas. If you're using an electric sander, make sure to choose a model suitable for woodworking. Orbital sanders are a popular choice as they provide a smooth, even sanding motion. For small or detailed areas, a sanding block can be more effective.
Start by sanding the flat surfaces of the vanity. Move the sander or sanding block in the direction of the wood grain to avoid creating scratches. Apply even pressure, but don't press too hard, as this can damage the wood. Work in small sections, sanding until the old finish is removed and the surface is smooth. Check your progress regularly by running your hand over the sanded area. If you feel any bumps or rough spots, continue sanding.
When sanding the edges and corners, be extra careful. These areas are more prone to chipping and damage. You can use a sanding block with a rounded edge or a sanding sponge to sand these areas gently. If the vanity has intricate details or carvings, use a small, fine - grit sandpaper wrapped around a small block or your finger to reach into the crevices.
Intermediate Sanding with Medium Grit
After the initial sanding with coarse - grit sandpaper, switch to a medium - grit sandpaper (around 120 - 180 grit). This step is to further smooth the surface and prepare it for the final sanding. Repeat the sanding process, moving in the direction of the wood grain. The medium - grit sandpaper will remove any scratches left by the coarse - grit sandpaper and create a more even surface.
As you sand, pay attention to the overall appearance of the wood. Look for any remaining finish or discoloration. If you find any stubborn areas, you may need to go back to the coarse - grit sandpaper to remove them before continuing with the medium - grit sanding.

Final Sanding with Fine Grit
The final sanding is done with a fine - grit sandpaper (220 - 320 grit). This step is crucial for achieving a smooth, polished surface. Fine - grit sandpaper will remove the fine scratches left by the medium - grit sandpaper and give the wood a silky finish.
Sanding with fine - grit sandpaper requires a lighter touch. Move the sandpaper slowly and carefully, following the wood grain. After sanding, use a tack cloth to remove all the dust from the surface. The tack cloth is sticky and will pick up even the smallest dust particles, ensuring a clean surface for the new finish.
Choosing the Right Sandpaper
The choice of sandpaper is vital for a successful sanding job. Different woods may require different grits of sandpaper. For example, softwoods like pine may be sanded with a slightly coarser grit than hardwoods like oak or maple. It's also important to use high - quality sandpaper. Cheaper sandpapers may break down quickly, leaving behind debris and uneven sanding results.
Safety Precautions
Sanding a wood bathroom vanity generates a lot of dust, which can be harmful if inhaled. Always wear a dust mask and safety goggles to protect your lungs and eyes. Work in a well - ventilated area to reduce the concentration of dust in the air. If possible, use a dust collection system with your electric sander to minimize the amount of dust in the air.
Post - Sanding Steps
Once you've completed the sanding process, it's time to prepare the vanity for the new finish. Before applying the finish, inspect the surface one more time for any remaining dust or scratches. If you find any, sand them out with the fine - grit sandpaper and clean the surface again with the tack cloth.
There are various types of finishes you can choose from, such as paint, stain, or clear coat. The choice depends on your personal preference and the look you want to achieve. For a natural wood look, a stain can enhance the beauty of the wood grain. If you prefer a more colorful or modern look, paint may be a better option.
Benefits of Proper Sanding
Proper sanding is not just about achieving a smooth surface. It also helps the new finish adhere better to the wood, resulting in a more durable and long - lasting finish. A well - sanded vanity will look more professional and attractive, adding value to your bathroom.
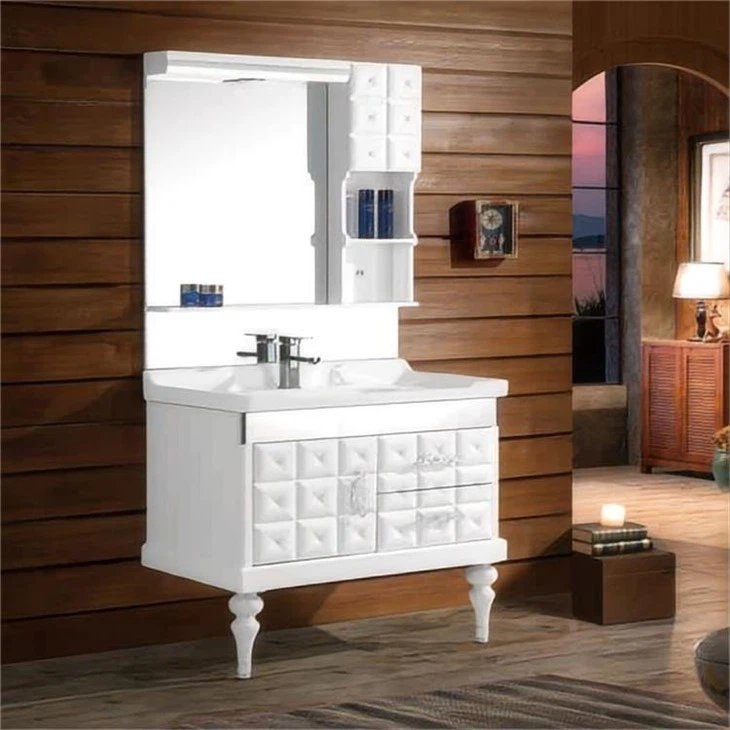
As a supplier of link text: Unique Vanity Cabinets, link text: Floating Glass Vanity, and link text: Solid Wood Vanity Units For Bathrooms, I understand the importance of quality craftsmanship. Our vanities are made from high - quality wood, and proper sanding is an integral part of the manufacturing process. Whether you're refinishing an old vanity or looking for a new one, we can provide you with the best products and advice.
If you're interested in purchasing our wood bathroom vanities or have any questions about sanding and refinishing, we'd love to hear from you. Contact us to start a discussion about your needs and preferences. We're committed to helping you create the perfect bathroom with our beautiful and functional wood vanities.
References
- Wood Finishing Basics: A Guide to Choosing and Applying Finishes. Popular Woodworking Magazine.
- The Complete Guide to Woodworking Tools. Fine Woodworking.